Quests & walkthroughs
Free Mert: daytime access and nighttime rescue
Updated September 14, 2026
In this guide
Start here
Speaking to Mert completes The Firebrand, but he remains imprisoned. To rescue him, obtain the prison key, open his cell and escort him outside during Under Watchful Eyes. The rear doors work even when the objective names the main gate.
Daytime entry
Gain access
Use the gate and overseer conversations.
Take the prison key
After the visit, collect it in the office.
Nighttime entry
Climb the tower
Use the damaged tower route.
Collect a key
Clear the route to the cell.
Open the cell
Track the rescue and prepare for fighting.
Lead him through the doors
Clear the path and continue to quest completion.
01Follow Vlad's clue to Stoneward Post
- In Vlad's hut, inspect the flour sack in the back room. Examine its mark, then turn it to reveal the hidden arrowheads.
- Go to Mert's Mill. By day, play along with Renna's story about your broken cart. At night, avoiding the sword-marked response lets you return by day. Renna directs you to Stoneward Post.
02Deal with the prison lead promptly
PowerPyx reports that Mert is executed four in-game days after the Stoneward Post objective appears if you have not completed the conversation with him. Its walkthrough reports that completing The Firebrand and promising to return stops that execution deadline. A dead Mert cannot be rescued; an earlier save is needed for this outcome.
03Decide what happens at the mill
Reveal choices and consequences
To keep Renna alive in the reported rescue route, kill the soldiers hiding at the mill before freeing Mert. During the day, knocking at their shed starts the encounter. Leaving them alive results in finding Renna dead when you return, despite her request to avoid a fight.
04Daytime route: gain access through dialogue
- At the main gate, say you want to enlist, then object to serving without a weapon. This retains your weapon; the prisoner-visit route requires surrendering it.
- Walk to Overseer Friedo's tower. Intervening in the soldiers' harassment of a civilian makes the camp hostile.
- For access without paying, speak to the angry woman outside the tower, question Yenno near the entrance, and threaten to tell the commander. Return to Friedo and confront him about the stolen belongings.
- Alternatively, accept Friedo's bribe prompt or arrange the fistfight with Cerbus, win and report back. Enter the dungeon. If its guard remains, feign Mert's illness to gain a private conversation; this costs two segments.
05After the daytime visit: steal the key
This continues the daytime visit. Once ready, skip the alternative entrance below and continue with the escort.
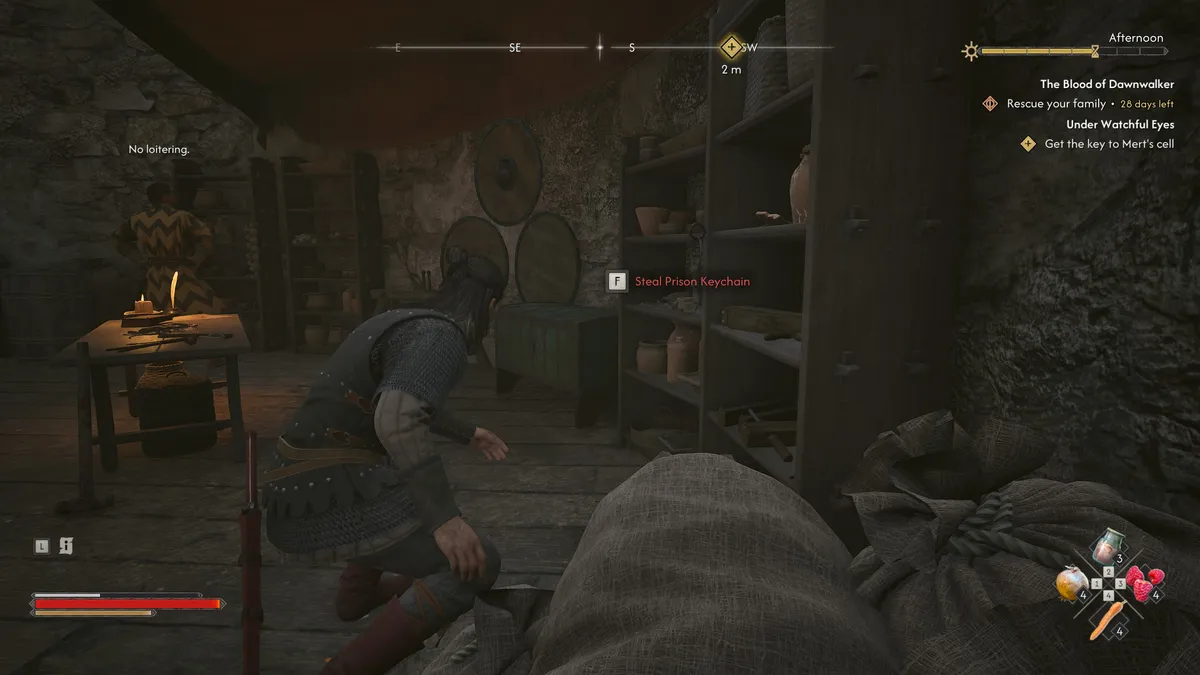
- After speaking to Mert, return upstairs while Friedo faces away. Take the Prison Keyring from the shelves on the right side of his office.
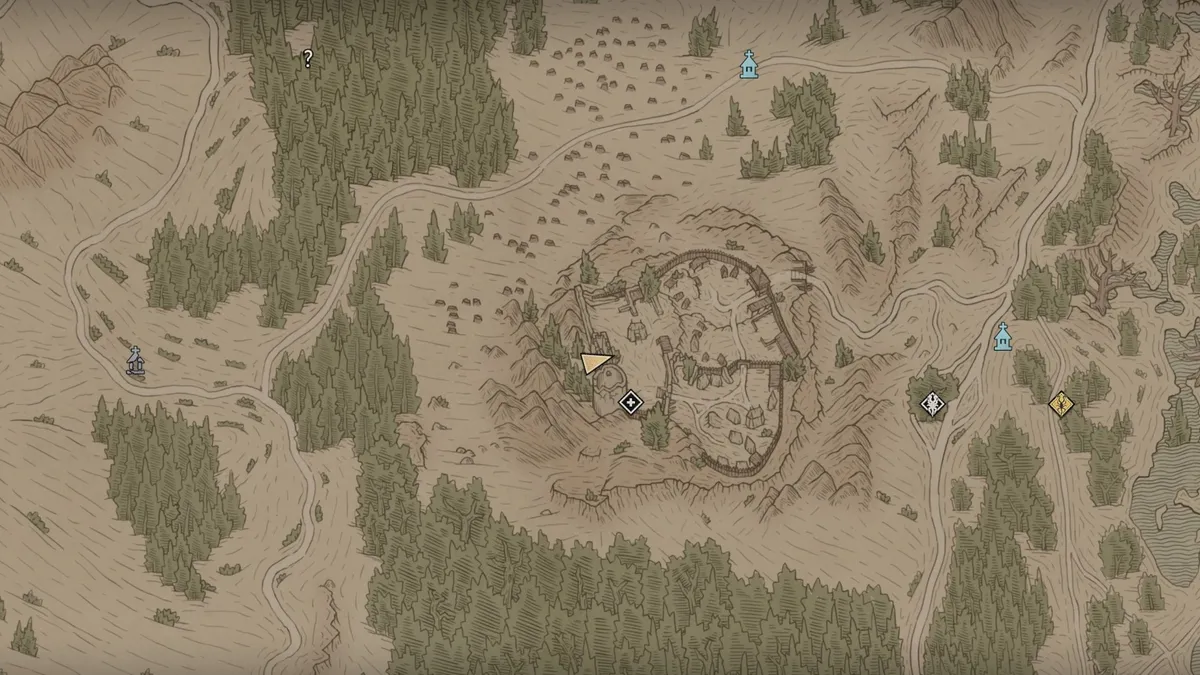
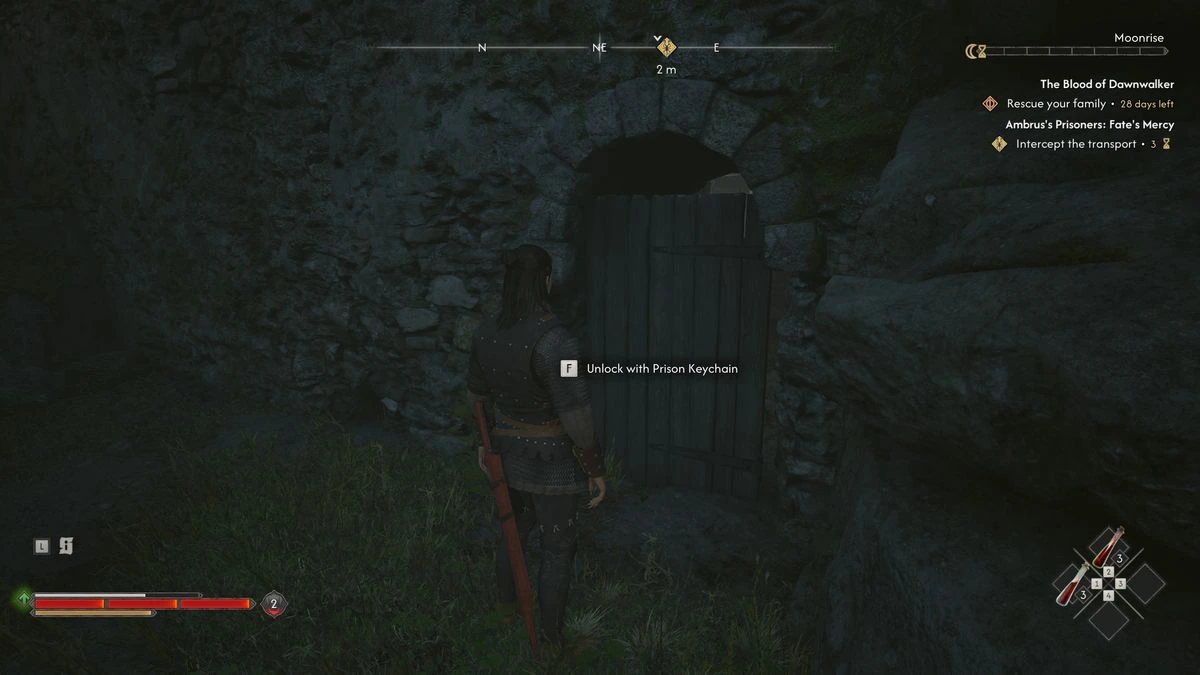
- If you prefer vampire abilities for the escape, leave normally and return after moonrise. The key opens the door behind the fort.
- If you surrendered your weapon and start a fight inside, the Weathered Longsword is in the back-right corner of the cell room. Taking it alerts the guard; equip it immediately.
06Nighttime route: enter from the tower
This is the alternative to the daytime visit. After reaching Mert, continue with the escort.
- Use Shadowstep to climb the damaged southwest tower and drop inside. Defeat Friedo, collect the key behind his desk and unlock the wooden dungeon door.
- Defeat the cell guard and speak to Mert. If you drop directly into the dungeon instead, take the guard's key and still clear the tower route: Mert cannot follow your Shadowstep escape.
- Begin with enough night remaining. Quest progress can turn the clock to daytime during the rescue.
07Open the cell and escort him through the rear doors
- Track Under Watchful Eyes, unlock Mert's cell and deal with the guard if still present. Be ready for fighting when you free him.
- Clear the path out of the tower. PC Gamer's route encounters Rayko the Incorruptible, soldiers and a dog; key theft does not guarantee a bloodless rescue.
- Before the escape conversation, restore Coen above one health segment. PC Gamer describes a hunger moment here and warns that low health may trigger feeding on Mert.
- On the north side of the overseer's tower, find the lit alcove with a locked door. Use the prison key there, then on the second door beyond it. Lead Mert through both.
- Continue until the escape conversation and quest completion. If you have already cleared the entire camp, the main gate is also available.
08Optional shortcut for an upgraded vampire
PC Gamer demonstrates a shorter climb from the rear entrance with Shadow Dweller and Dimension Reach. Without those upgrades, use the tower route above and expect additional fighting. These skills are not prerequisites for rescuing Mert.
09Choose where Mert goes
You can direct Mert to Svartrau's Almshouse. PC Gamer reports finding him later in the cathedral complex.
Sources & further reading